Monday, April 7, 2014

The rear loop

As mentioned earlier, the design of the Pantah isn't the most interesting to my eyes. I wanted to make a unique bike, and there is not any better way of doing that, than to chop the rear frame and make a new rear loop, with a brand new costumised seat to match.

At that time, I worked next to some kind of stainless steel black smith, and yes, I admit it, I borrowed a minor plate of stainless steel, to make a temporary seat, in order for me to ride my bike, while the construction of the rear of the frame was on-going.

I mounted the new rear light on the plate, so that people behind me could see if I applied the brakes, which, I must say, is preferable in traffic. Along with the new seat, came also new tires. Yes, some say that the Firestone Deluxe Champions are over-exposed on cafe racers, but I don't care, I think they look rad, and right now, I would not know, what else to put on my bike.


Just after i snapped the picture above, which you may have seen at my instagram account @morten_mo, I installed my new battery. The S.O.B. had four terminals - two positives and two negatives - and Einstein here, accidentally connected it wrongly, so that I shorted the rectifier... Of course, I only found that out two batteries later - each worth 200$. #FML

The wires were pretty toast...

Preeetty toast indeed.


Before I made the rear loop, I added another classic and over exposed café racer mod. Heat wrap, yes sir. Again, I don't care, I just think it looks awesome. And I must say, that I got it just right at my first ever attempt heat wrapping something.


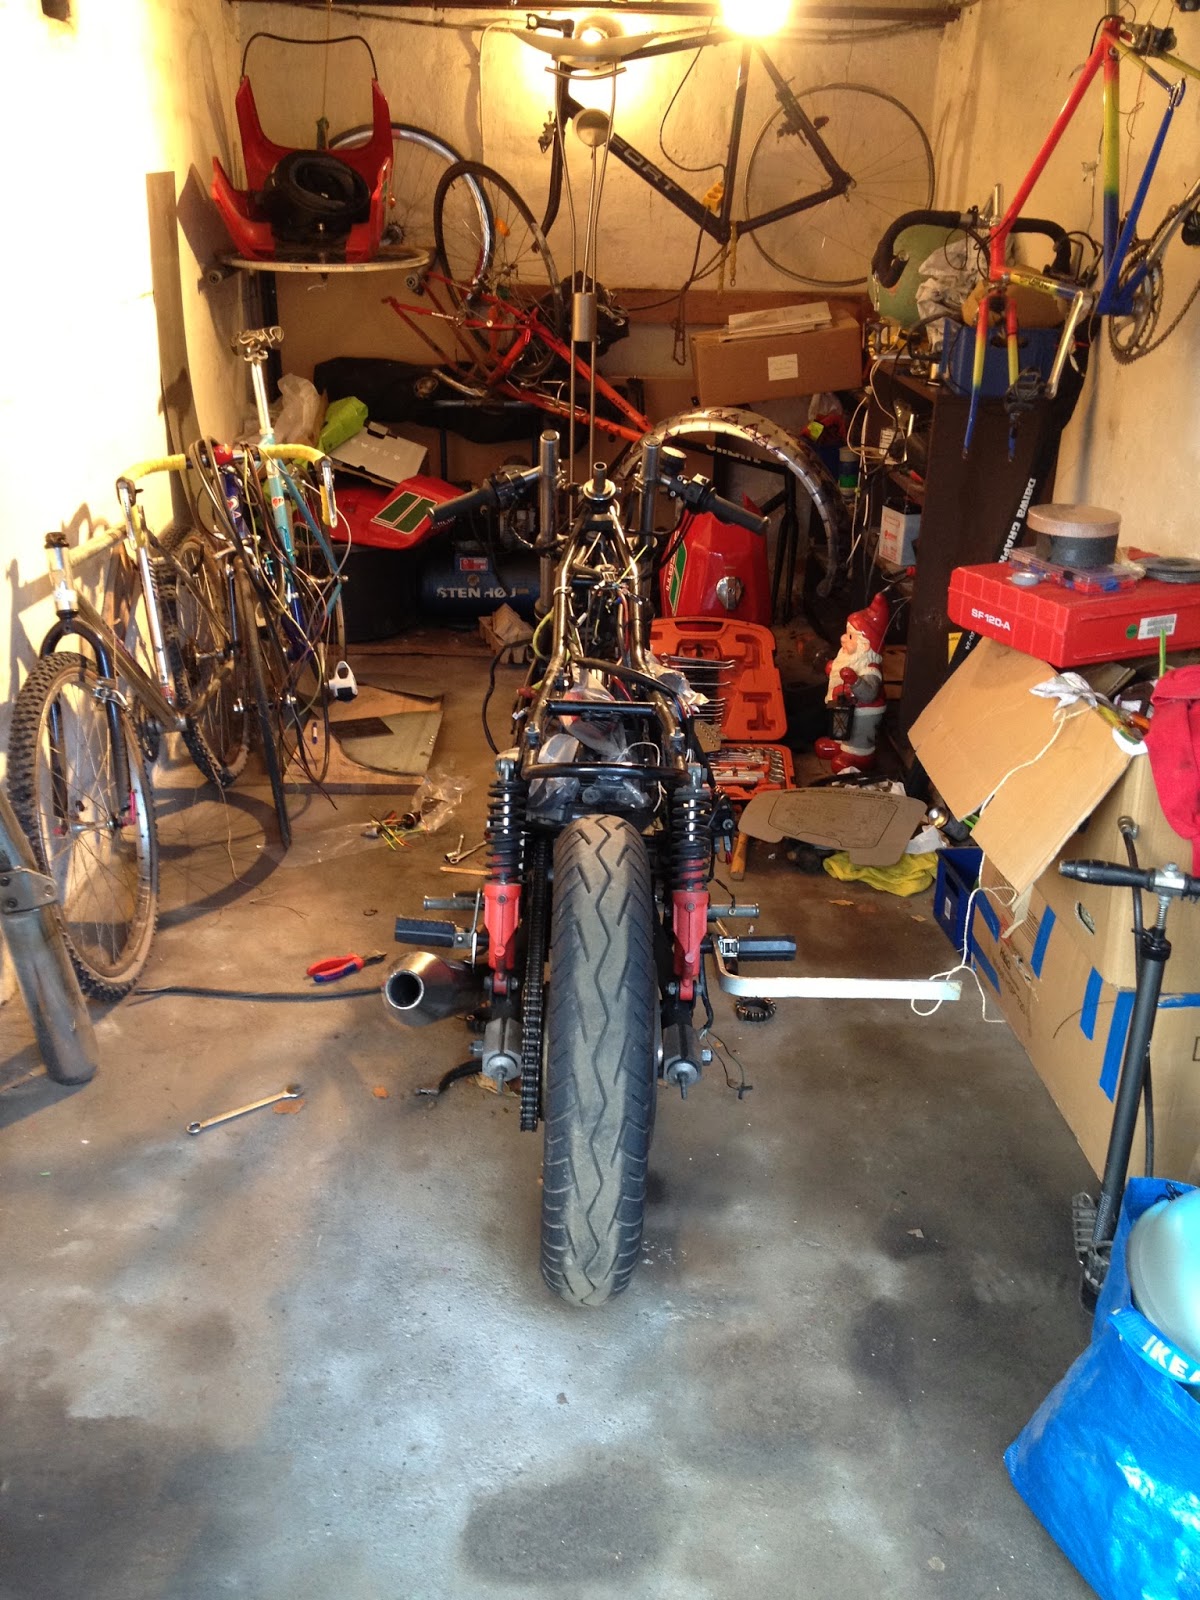
Another picture below from Instagram.


Now it was time to chop the frame. I have had several thought about this up to this point. Was it worth it, chopping the frame? The answer should prove to be a loud and clear YES.


So then I got the rear loop chopped, and now was the new challenge to have the new loop welded back on. My friend was a welder, but we did not have machinery and so on, so I decided to drive it out to some guys that seriously know what they're doing - The Wrenchmonkees.

www.wrenchmonkees.com

More about them later.


As said, I had a new challenge. I started by sawing over the new rear loop, like below. However, I gave up and yes, drove it out to the wrenchmonkees.


So I put on the temporary seat again, and drove it to Uplandsgade, Copenhagen.


Before then, I took it for a spin in the nice summer time. It isn't always nice in Denmark, so when it is, hit the roads - nomatter how uncomfortable your seat may be.


Well arrived at wrenchmonkees, I parked Francesca next to the co-funder's motorcycle, the monkee #1:

http://www.wrenchmonkees.com/motorcycles/monkee-1.html


I also brought along my new parts for the entire rear loop job.

To speak of my personal oppinion about The Wrenchmonkees... Well, these guys make the sickest looking cafe racers in this part of Europe, and getting them to weld the rear of my bike, would be awesome. It didn't cost much, about 200$, and after that, I had a very nice looking new rear loop.
Every time I go there, they are very helpful with whatever your inquiry is. A nice place to go. Whenever.

Four days later, I picked up my bike.


Super nice job. I was very pleased and satisfied with their work.

All for now. In my next post, I will talk about the making of my custom made seat. Stay tuned.

/Morten

Friday, March 21, 2014

Francesca Ducati

Where we left of some years back on this block, was regarding the disassembly. Since then there has been promises about ressurrections and so on. However, now I have the time to tell my story about Francesca, which I have named this little lady.

Anywho... The disassembly mainly took place at my old apartment, where I had a garage, which was perfect for that.

Two years ago, apparently i had the original mufflers mounted on the bike, however these do not sound of much - they don't do that wonderful engine justice sound-wise.


So I put back on the aftermarket exhaust that I have - a 2-in-1, that sound awesome.


The cone-look makes it quite good looking as well, so it is kind of a win-win-situation, though I have been told that the torque goes slightly down. However, the engine breaths better than with the standard mufflers. It was fairly easy to install.


The reason why the bike is completely torn apart, is that I was fed up with it's original design. It was boring. Ugly. Not good to look at. I thought that I could do better, so I tore it apart and made some minor adjustments.


 Front weel's come off, and all the electrics have been diamantled. I have taken off the fairing too, and all the original clocks.


Looks very naked...


The original rear loop.


Yes, shit's torn apart! But in Denmark we have a saying, that says something like "it has to be bad before it gets good"... This is exactly how it is right here. More to come soon! Among other things, I will show you how I made a new rear loop for the frame, in order to make the frame look nicer, when I had a saddle maker made my new seat for Francesca. Stay tuned.


Monday, February 3, 2014

Resurrection part two

So last year, I wrote that I would update my blog more frequently... We all know how that went! The excuses are many, but I won't bore you with them! However, ms. Francesca is still running, except she is right now in her winter hibernation, in a nice and warm garage!
A lot of things has happened once again within 2013. Some rather big custom motorcycle sites has done articles about this little lady, plus she is now featured on coffee mugs and shirts in the USA. That is awesome!

But I will get back to all that in the months to come, starting from this week, and that is a promise to myself, that I should give this blog some more attention!

Until then, ride safely!

/Morten

Tuesday, April 9, 2013

Resurrection

So I have been quite abscent on this blog the last year or so. However, a whole lot have happened to my bike since then. All this, I will see if I can update my blog here on a weekly basis, starting next week from where I left off last year.

Until then, here is a teaser:


Have a nice day!

Wednesday, June 20, 2012

Disassembly

Obviously, before something can be good, it has to be mighty bad! So I have stripped down my bike, by removing the seat, the fenders, the upper fork bridge and so on. The front wheel has come off as well, due to a crash in Sweden some years ago.


So I sent the wheel to my mechanic and his contact is fixing it these days. The rear wheel will have to come off as well, given the fact that I have just bought myself some new tyres - Firestone Deluxe Champion aka. the classic cafe racer tyres.


These look very cool, I think, and will give my Ducati a nice old school feel.

Anyways, the old front light has come off as well, along with the instruments.


So the bike has really been stripped down to it's toes. It has maybe taken me one-two hours to disassemble it, but it will definately take up a lot of extra time to put it back together again with the new parts and so on.


I will also replace the part of the wiring that I can, so that I have also disassembled. I hate cords, so I figured that if I could hide some of them, that would be excellent. So now, the fuse box, which was earlier located on the rear fender, will be located underneath the tank, with all it's cords and so on. Plus all the cords from the instruments in the front, will be hidden under the tank, and just a few cords will be visible, leading to the head light and speedometer.

Monday, June 18, 2012

New parts


So I went to this place in Copenhagen, called wrenchmonkees - see their bikes at www.wrenchmonkees.com
They make some awesome looking bikes, if you ask me, and my build will be much inspired by their bikes.


Their workshop and showroom, has a nice touch to it, and they are very polite and helpful in there. Of course, I did not go only to browse bikes, but I went there primarily to buy some parts for my project. More precisely, I bought a new head light, a new rear fender, a new rear light and a new speedometer, with lamps inside it for Neutral, Oil, Blinker and High Beam. Very nice little device.


Moreover, I bought three meters of some sort of woven mesh to cover the new wiring for the new lights and so on. It is very nice looking, as you can see on this example underneath.


Yes, what to look for?! It is the two black woven meshes in the left side of the picture, in between the two bars. It looks very nice, I think.

Of course, I will need a whole lot more for this build, like new tyres, and a new seat also. More about that later.

Tuesday, June 5, 2012

Update

So here's an update! It has been roughly two years and a half, I can see. Things have changed, ideas have come and gone, and now I am ready to sacrifice my old Pantah for this build.

Since my last post, my Pantah has gotten a new engine, because the old one got torn up. And I literally mean torn up. The piston of the top cylinder had disintegrated and smashed up the cylinder. That explained the "funny" metallic sound coming from the cylinder, like a nut was being thrown around in the combustion chamber.

Luckily, the mechanic had some good contacts, and fixed me up with a 1983 650 ccm Pantah engine, which of course fitted right into the frame. The mileage of the engine was unknown, but it's interior was good looking, the mechanic said. We were rolling again.

From a crash in the forests of Sweden, my front wheel was bent out of shape, and therefore it had to be straitened out. One of the fork legs was also damaged, but it was replaceable. The front wheel was not. Two times a guy tried to straighten it out without luck, and right now, it is at the mechanic who is pricier, but have straighten it out before.

So with those little things being fixed, I am now ready to proceed with my blog here, to show you in pictures and words how my Pantah Cafe Racer is going to look.